
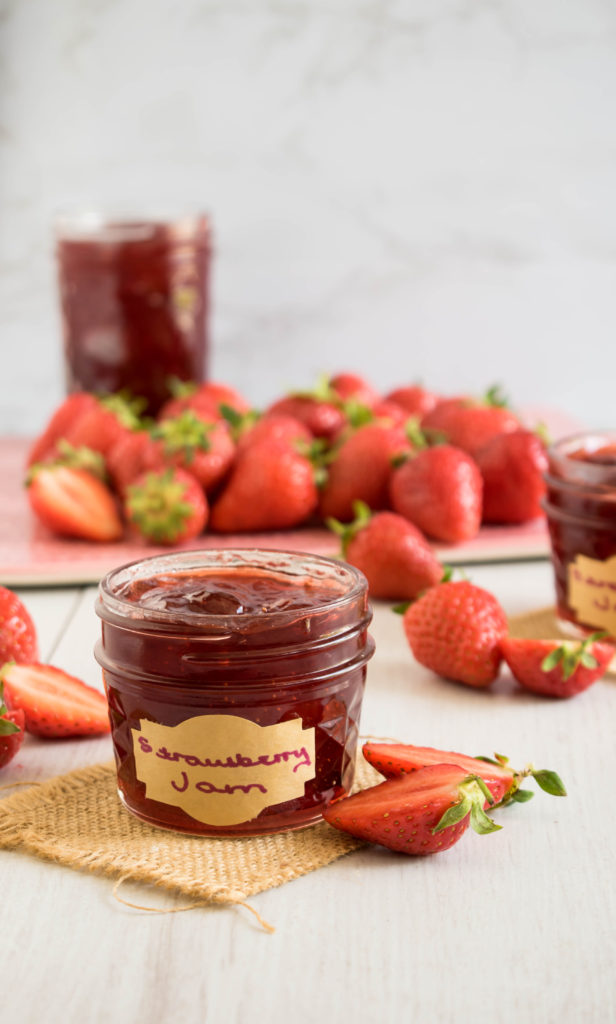
This easy to make strawberry jam is delicious. With only 4 ingredients you will be able to make your very own. Read on for tips on how to make this strawberry jam even if you don’t have a sugar thermometer.
Strawberries can be so tempremental. I spend time trying to pick then best and then when I ready to eat them some of them have lost their firm texture. This happens even when I pick the berries with the longest shelf life. Rather then throw them away, I use them for a cocktail or compote .
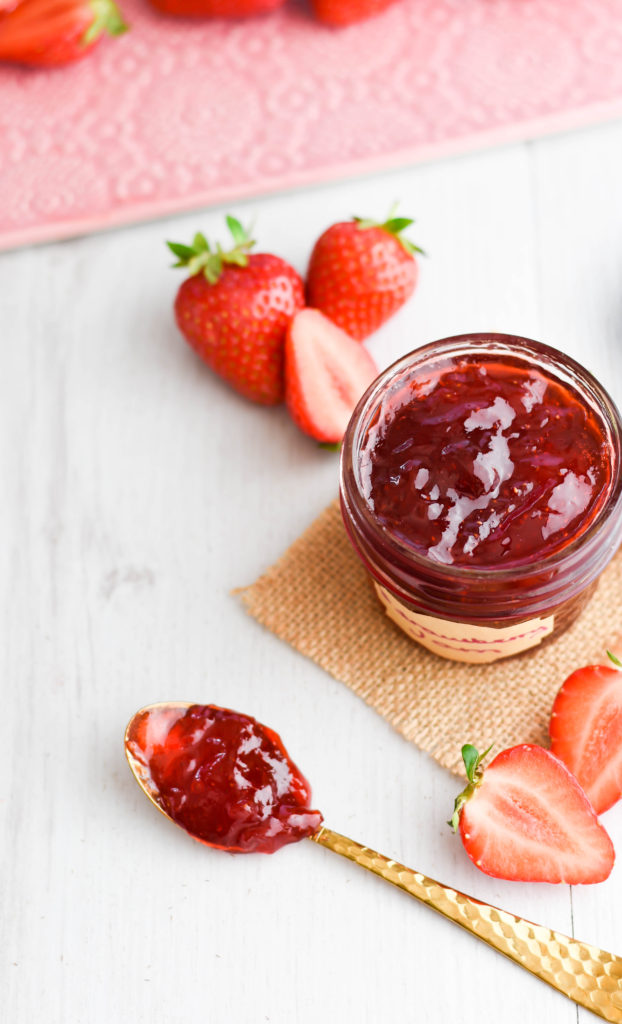
Using the strawberries for jam is a great was of preserving them. Jam has multiple uses, it is great on scones. It can be used as a filling for cakes or even swirled into a cheesecake.
Homemade strawberry jam is way better than what is in the shops. It’s more fruity and less sugary. The prepration is not as complicated as you may think.
Ingredients for this delicious strawberry jam.
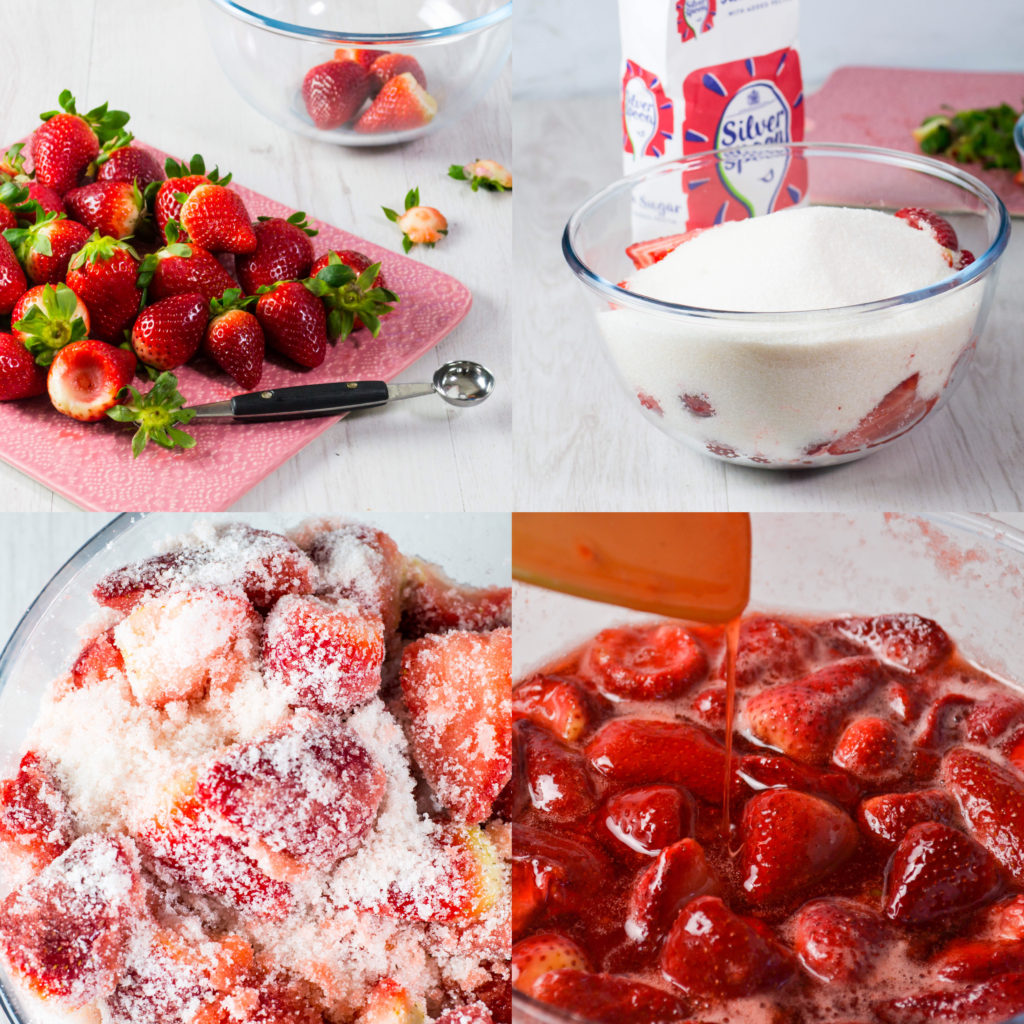
Strawberries- Prepare the strawberries by washing them first . Spread the strawberries on a tray and pat them dry with a kitchen towel. You want to remove as much moisture as you can from the surface of the berries. Use a knife or melon baller to remove the stem of the berry. Cut any large berries in half. Put the strawberries in a large mixing bowl and gently mix through the jam sugar. Leave the berries uncovered at room temperature overnight. Doing this helps the sugar to dissolve and helps keep it’s vibrant colour. Overnight the berries soften and release a delicate syrup.
Jam Sugar– This type of sugar contains pectin. Pectin is a type of naturally occuring carbohydrate called polysaccharide that helps maintain the structure of fruit. It forms the solid that holds the liquid togther. Fruits like apples and citrus contain a lot of pectin, whereas strawberries are low in it. Using jam sugar ensures that your jam sets quickly as well as retain their colour and flavour.
Lemon Juice– Do not leave this out. The acidity of the juice helps balance out the sweetness of the jam. If you are not using a sugar which contains pectin, the lemon will help your jam thicken. Either bottled or freshly squeezed lemon juice can be used.
Butter– Foamy scum may form on the surface of the jam when it is cooked, which is perfectly normal. Stir a little butter into the finished jam and this will dissolve the remaining scum.
How to test if your strawberry jam is ready
Your jam is ready when it reaches 104°C or 220°F on your sugar thermometer. That is also known as the setting point. If you have not got a thermometer carry out theTo test if the jam is cooked, carry out the wrinkle test. Before you begin cooking the jam, place a saucer in the freezer. Spoon a little on the jam onto the chilled saucer and then leave for it 30 seconds. Push with your finger through the jam, if the jam wrinkles and doesn’t flood the gap, it is ready. If it is not ready, turn the heat back on and cook for 2 more minutes. Repeat the wrinkle test until the jam is ready.

How to sterilise jam jars and store
Sterilising your jars is an important step. By doing this you prevent harmful bacteria from building up and spoiling the jam.
Start by preheating the oven to 160°C. Wash the jars and lids in hot soapy water and rinse, but do not dry them . Place the jars on a baking tray and into the oven for 10 miutes. Soak the lids in boiling water for a few minutes.
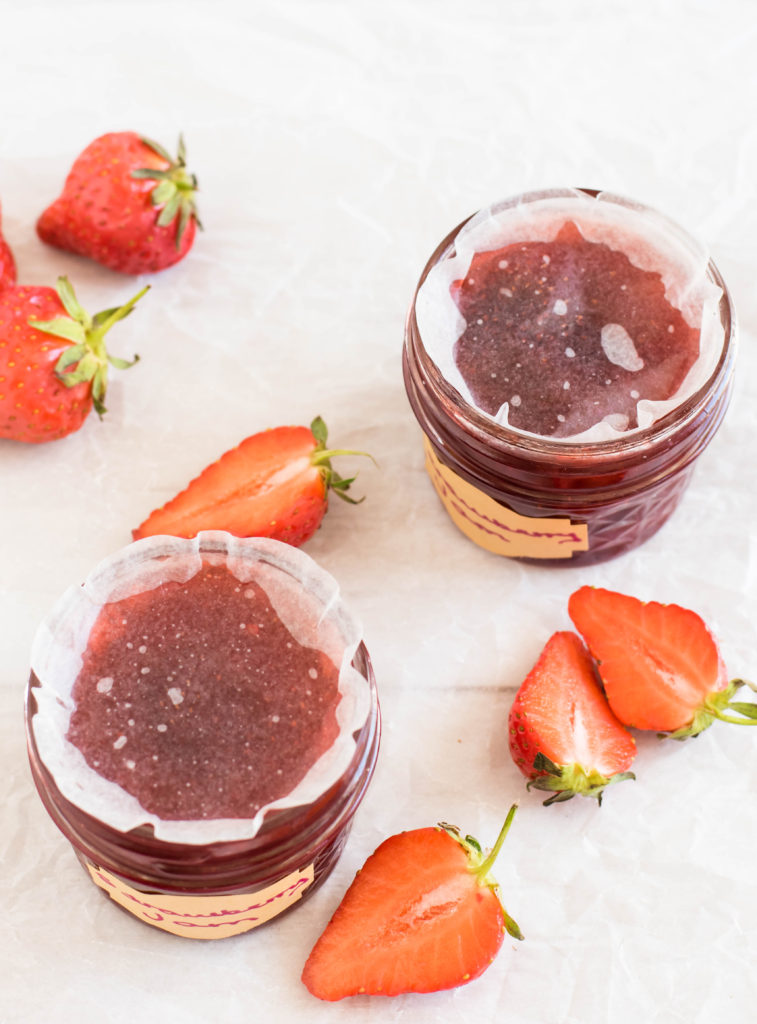
Ladle the hot jam into the warm jars, filling to just below the rim. Place wax dics on top of the jam. The wax disc prevents mildew forming. Cover the jar with a lid. The jam can be stored for up to 1 year in a cool dry place.
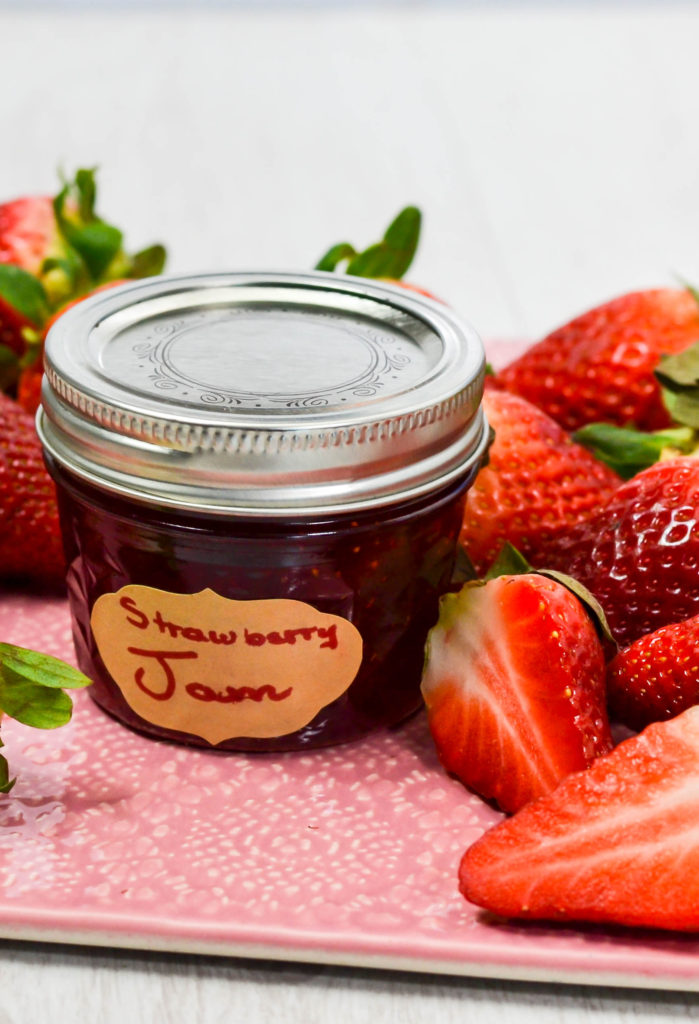

Homemade Strawberry Jam
Ingredients
- 800 grams strawberries, hulled
- 800 grams jam sugar
- 1 lemon, juiced
- 1 tbsp butter
Instructions
- Wash the strawberries and wipe with a kitchen paper. Remove the stem of the fruit with a knife or melon baller. Cut any large berries in half.
- Place the strawberries in a large mixing bowl, add the jam sugar and mix together. Leave uncovered at room temperature overnight.
- Put a saucer in the freezer. This will be used to test if the cooked jam has reached setting point.
- Place the strawberry mixture into a large saucepan over low heat. Add in the lemon juice. Stir the mixtuure very gently until all of the sugar has dissolved. If any sugar granules remain on the side of the pan, use a damp pastry brush to brush the sugar granules away.
- Once all the sugar has dissolved, turn up the heat to high and boil for about 6 minutes, or until it reaches the jam setting point (220 °F or 105 °C) on your thermometer. To test if the jam has set if you do not have a thermometer, spoon a little jam onto the cold saucer and leave for a minute. Then push you finger through the jam, if the jam wrinkles and does not flood the gap. it is ready. If the jam is still runny then return it to the heat for a few minutes and repeat the wrinkle test again. Repeat this step until the jam is ready.
- Remove any foamy scum at that has risen to the surface with a spoon and discard it. Mix in a tablespoon of butter into the finished jam until it melts.
- To sterile your jars, pre-heat the oven to 160°C. Wash the jars and lids in hot soapy water and rinse, but do not dry them. Place the jars onto a baking tray and pop into the oven for 10 minutes. Leave the lids to soak in boiling water for 2 minutes,
- Pour the jar into the sterilised jars. Place a wax disc on top of the jam and then cover with a lid. Leave to cool and then store in cool dry place.


Leave a Reply